Anime Corner Character: Noemi
Difficulty: Medium - Advanced
Time: 3 - 5 hours
Materials needed:
- Noemi template design sheet (download and print this out)
- medium pumpkin (at least 9" x 12" size)
- carving knife (or exacto)
- pencil (any colour)
- bobby pin
- big metal spoon
- damp paper towel
- tape |
 |
WARNING:
Knives, pins and matches can be extremely dangerous if mishandled and it is highly advised that you leave the carving/lighting to an adult.
This guide is available freely to our friends, however RACS may not be held responsible for any errors or accidents that might occur as a result of using this guide. Please remember to use caution and common sense when carving your pumpkin, and always have an adult present to supervise.
1) Wipe the pumpkin with a damp paper towel and pick away at any excess dirt to leave behind a smooth carving area.
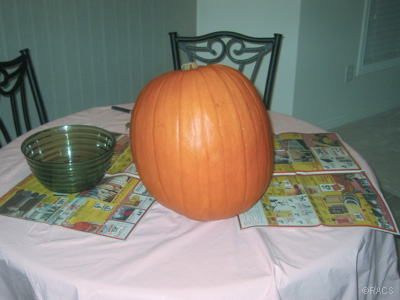
A clean pumpkin is a pretty pumpkin.
2) Using a pencil, draw a circle around the top stem approximately 5" - 7" in diameter (depending on the size of your pumpkin).
3) Now, take your carving knife (or exacto knife) and carve along the circle you just drew. Once the circle is completely cut, remove the lid. Make sure to cut in at a horizontal angle so that the pumpkin lid will rest conveniently on the rim of the pumpkin once it is detached (and not fall down inside and get stuck).
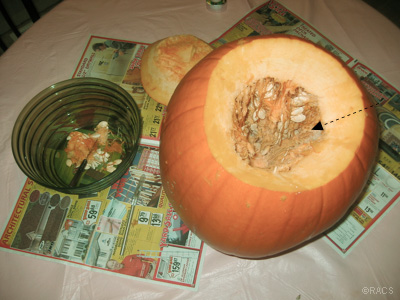
Cut in at an angle as shown... have a bowl ready for the next step.
3) Take your spoon and dig into the pumpkin, removing all the seeds and pulp until reaching the bottom. You may need to pull up your sleeve and stick your hand inside to clean out the remaining membranes, (it will get pretty messy so be sure to spread some old newspapers around your work area).
Optionally, you may find that scraping away the insides of the pumpkin with your spoon will give you a thinner shell that will be easier carve. If you decide to do this, it is recommended you leave a thickness of at least 2cm in width.
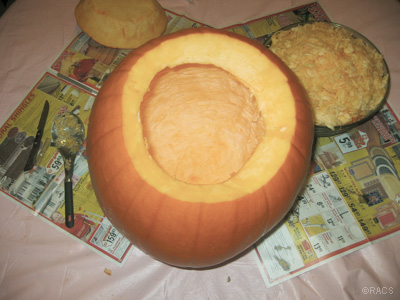
The left insides were scraped repeatedly to give us a thinner shell to carve with.
4) Now, select the widest surface area of the pumpkin you wish to carve on, and tape the template sheet over it. Make sure to tape the top, bottom, left and right so that the template won't budge during the next step.
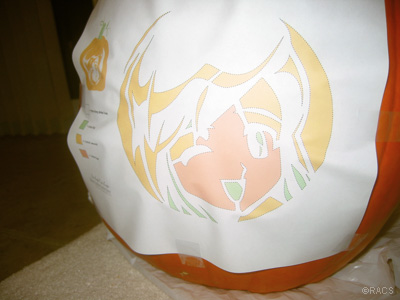
Tape the top, bottom, sides and corners down so the template will stay in place while you trace.
5) Using the pencil, retrace over the design and press hard enough so that you leave an impression in the pumpkin. The shell of the pumpkin is generally soft enough so you won't need to exert too much pressure and accidentally tear the template sheet in the process. Because some carving details will be very fine (such as the nose), it is recommended you trace as accurately as possible to avoid disappointment later on.
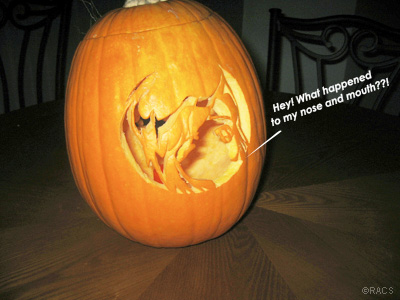
The first failed attempt after carving out the shapes too close together ;_;
6) Remove the template sheet from the pumpkin and hopefully you will have a faint impression of the design on your pumpkin to guide you where to carve. Additionally, you should keep the template sheet handy and refer to the additional colour diagram to give you an even clearer idea as to which sections will need to be cut out.
7) Using your knife, carve out the sections following the lines left by the impression. Start first with the smallest shapes (ie. inner mouth, eye highlights, some small hair spaces) and then onto the remaining shapes slowly moving your way outwards beginning from the centre. Optionally, depending on your carving skills, you may find a random order suitable to your liking (incase you suspect one side of the pumpkin becoming much weaker than the other.) Whatever order you choose, it is recommended you save the main facial cutout till the end (see 2 paragraphs down.)
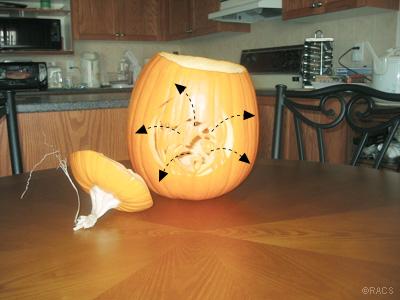
Carve out the little shapes first then start from the centre (avoiding the main facial shape) and move outwards.
As well, for the very tiny areas (such as the eye highlights), you can skip them entirely or just use a bobby pin to knock them out if your carving knife is too big for the job. Optionally, instead of cutting all the way thru, you can just 'skin' (pare) the surface of those small areas (so that some light will still be able to shine thru),
Important: By the time you reach the facial area (which should be roughly the 3rd last to the very last cutout on the list), the pumpkin surface will be very fragile. This is the trickiest part! Cut very slowly, and rather than making a deep incision and dragging the knife, trace repeatedly along the lines with your knife so that the cutout will eventually pop out with minimal pressure. Again, be very careful with the nose/mouth area since it's supported by only a small piece of the pumpkin.
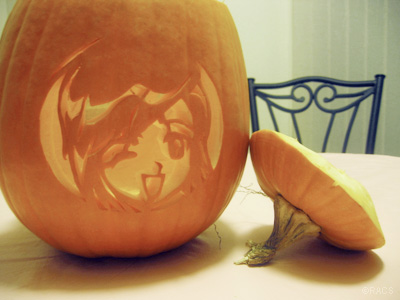
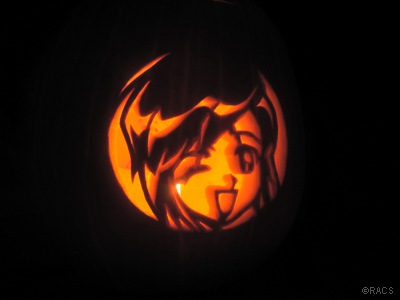
SUCCESS! Noemi lookin' good.
8) Once the carving process is complete, remove any excess pieces that may have fallen into the pumpkin and place a candle inside.
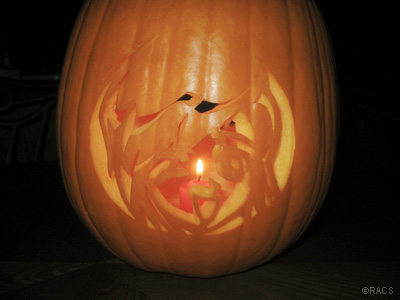
Short round candles work best since they have a less chance of tipping over.
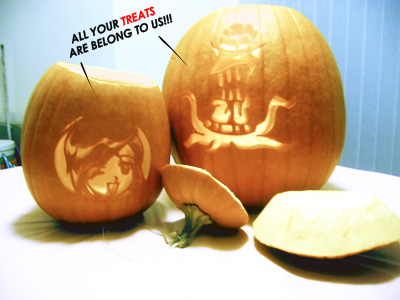
9) Have a grownup light the candle with some matches or better yet a matchstick grille lighter (be careful not to burn your hand!) Replace the lid, and set your new Noemi O' Lantern out on your front porch for all your drooling anime-loving neighbours to envy :)
Have a Safe and Happy Halloween from the Anime Corner Store Team!
� 2005-2009 AnimeCornerStore.com
~ Back to the Store~ |


